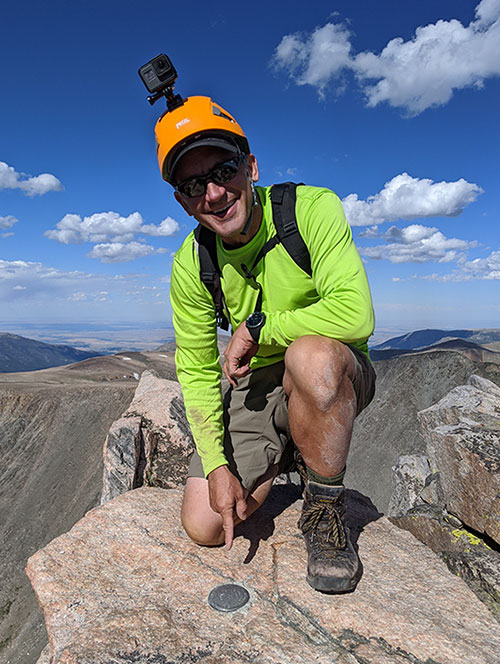
 Coming in at #4 of my COVID Summer Series of State Highpoints is Montana’s tallest, Granite Peak at 12,799′.
Granite is one of the tougher high points of the West but we made it up and back in less than 48 hours! I went with Oliver Hansen, a hiking friend from Grantsville, who did Dessert Peak with me in May via Temple Couloir.
In preparation for this adventure, both of us had been researching the “Southwest Ramp” since that was said to not require ropes. I had been studying the route defined by Steve Eckert while Oliver used Willhiteweb as his reference. Both resources provide excellent detail that could be enough to use for your summit planning. However, what you will find here should be consistent with their info while hopefully providing some additional support (and encouragement) for you to accomplish this state highpoint as well.
DAY 1 – The Drive
The first day was obviously a travel day. Coming from Salt Lake City, we had a good 8-hour drive to Cooke City through Idaho Falls and West Yellowstone. The miles on the road went by quick as we only stopped for lunch, gas and a few last-minute snacks in Rexburg.
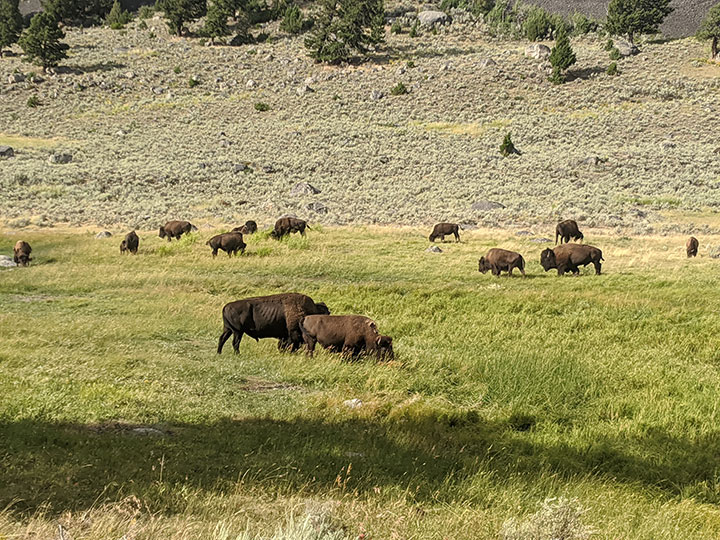
The longest leg was through Yellowstone over to the far Northeast Entrance on that single-lane road behind a lotta lookie-loos (but I guess we were all that way on our first few times through the park).
Once we arrived in Cooke City, we made our last contact with home on a borrowed Wi-Fi connection from the Super 8 parking lot. They were nice enough to give us the password since we found NO cell coverage anywhere in town… not with Verizon (me) nor T-mobile (Oliver). If we had opted to spend a night in Cooke City, Super 8 would have been the obvious choice.
DAY 1 – The Hike In (part 1)
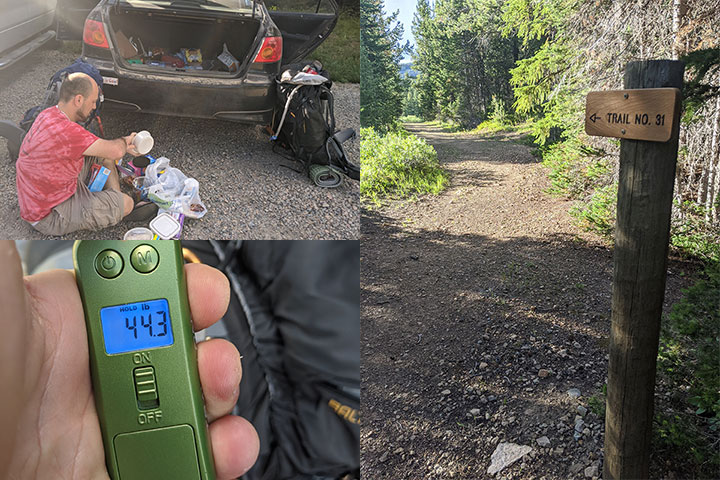
We eventually made it to the Lady of the Lake trailhead off the Lulu Pass road at 6p, organized our gear and were on the trail by 6:30. This may seem like a late start, and we could have left Salt Lake earlier, but we just rolled with it since the plan was a 4-day/3-night adventure without any specific timeline to follow. We read it was something like 10-12 miles to the base coming from the south, so all we had hoped for on Day 1 was to get as far into the area as we could before dark. That would give us another full day to reach the base, 1 day to summit and the 4th day to return home.
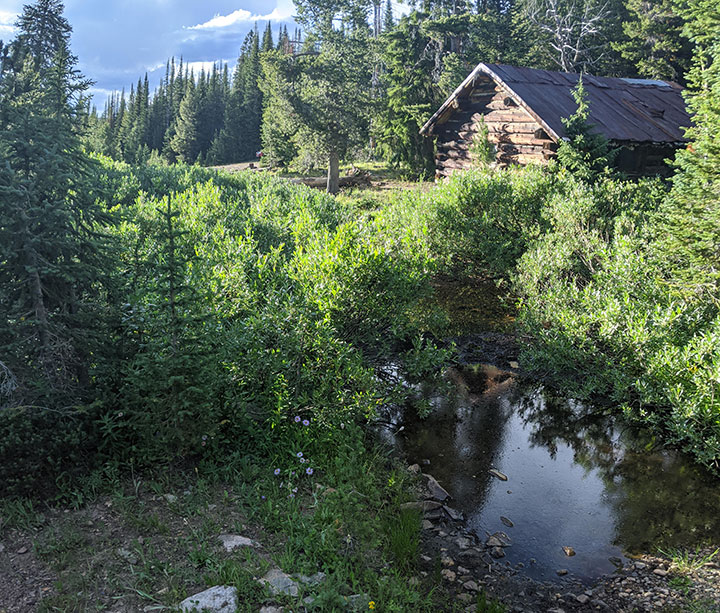
Here’s that abandoned cabin Steve Eckert mentions at the upper parking area (if you have a high clearance vehicle). This is less than a 1/2 mile from where we started on the Lady of the Lake trail, since we did this drive in Oliver’s Camry.
Lady of The Lake
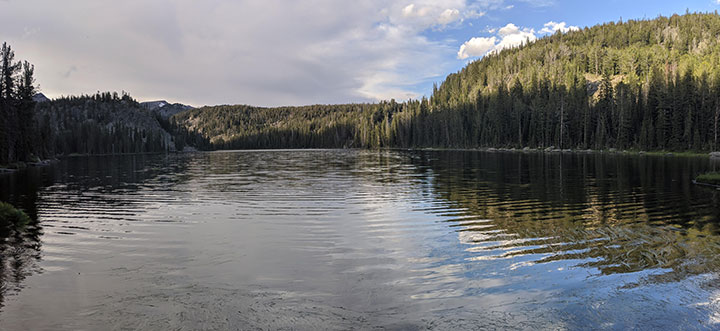
45 minutes into the hike and we reach Lady of the Lake at the 2-mile mark. We couldn’t help but wonder if we should refer to this body of water as Lake Lady of the Lake, or Lady of the Lake Lake, to not be confused with thee “Lady of the Lake”…
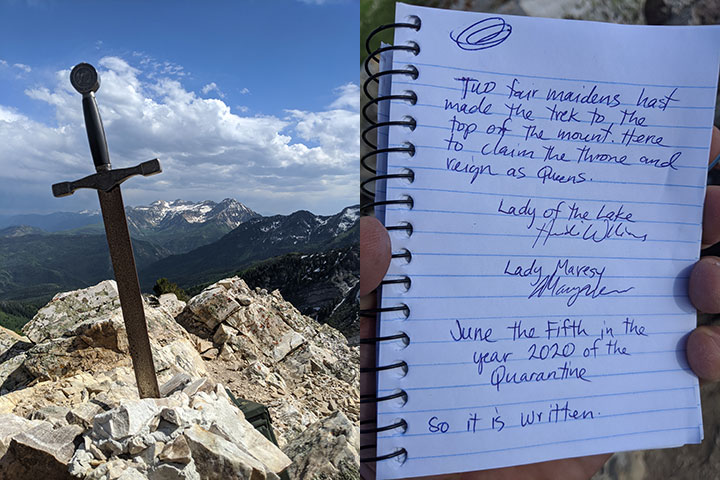
…or maybe we should have taken a few minutes to look for Excalibur since it recently disappeared from Utah’s Wasatch Front with a suspicious note in the summit register!
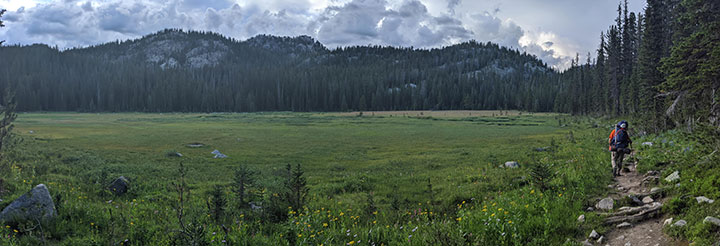
Not far after Lady of the Lake Lake comes this great big meadow – can we call it Lake of the Lake Meadow? I thought for sure we’d see wildlife here, especially with it nearing dusk. It’s probably good we didn’t because my mind had already worked itself up about being deep in Montana’s backcountry where big grizzlies roam (it was my first time). I was quickly distracted from this thought as the first creek crossing approached with Lady of the Lake Creek at mile 3.
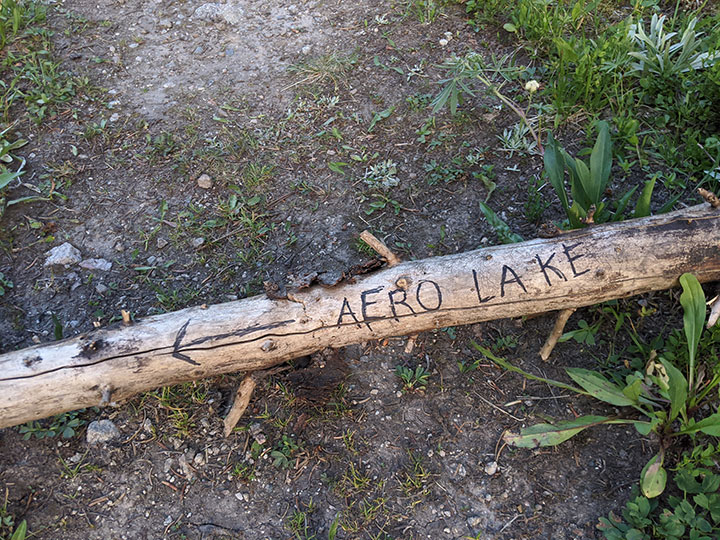
If it’s not clear which direction to cross Lady of the Lake Creek, we came across this primitive trail marker pointing the way (is there a reason for no real signage in these parts?).
Another half mile or so from the Lady of the Lake Creek crossing is where the trail splits. Veer left to continue on the Lady of the Lake Trail up along Zimmer Creek to Lower Aero Lake. Then after your second creek crossing, stay right to follow Sky Top Creek. Since this is where Zimmer Creek merges with Star Creek to form the larger Broadwater River, we had to follow Broadwater down a few yards in order to find rocks big enough to keep shoes on and not get wet.
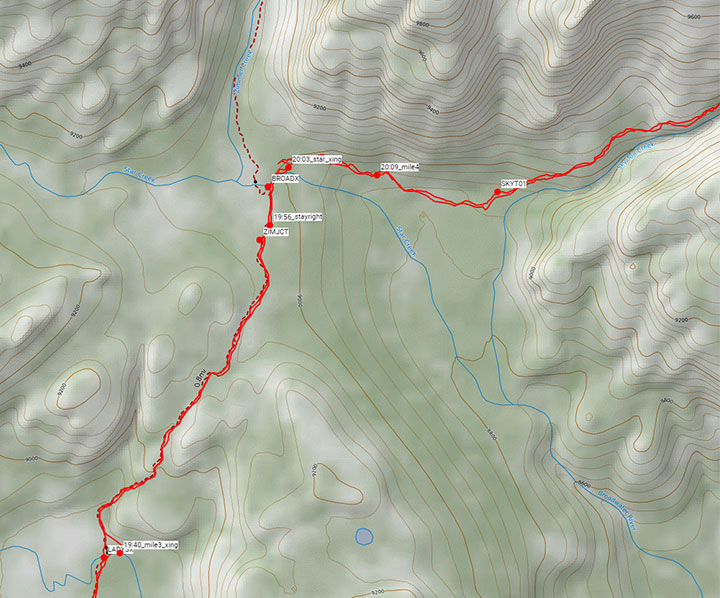
Sky Top Creek
After crossing Broadwater, there is a bit of elevation loss here before the gorge comes into view and you return to climbing up along Sky Top Creek to the next creek crossing.
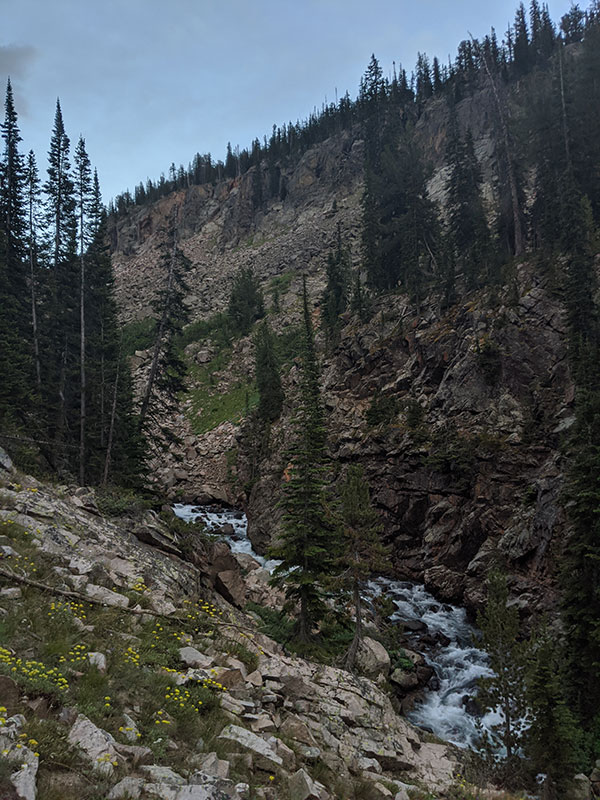
By 8:30p that night, we found ourselves at our third creek crossing, 5 miles in and 1000′ up. This felt like a good place to stop for the day and set up camp. We were on flat ground, with fewer rocks, next to the river, featuring a fire ring already established by previous campers… what more could we ask for? This crossing also seemed a bit more difficult than we were up for at the time, so we decided to wait ’til morning to figure that one out.
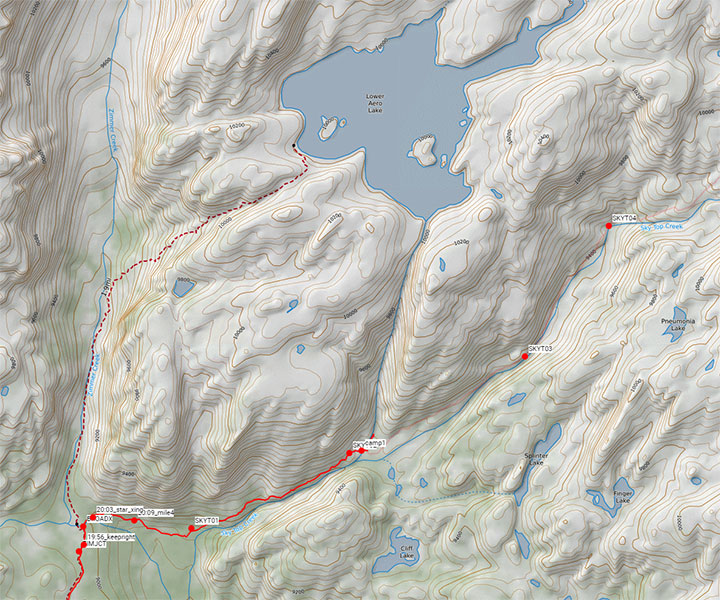
DAY 2 – The Hike In (part 2)
We arose to beautiful sunshine the next morning and the most perfect weather to be out chasing this state’s tallest peak. It was a little chilly until the sun reached our tents but that didn’t take long since we had no reason to wake up at the crack of dawn… we had all day to make our way to the base in my mind.
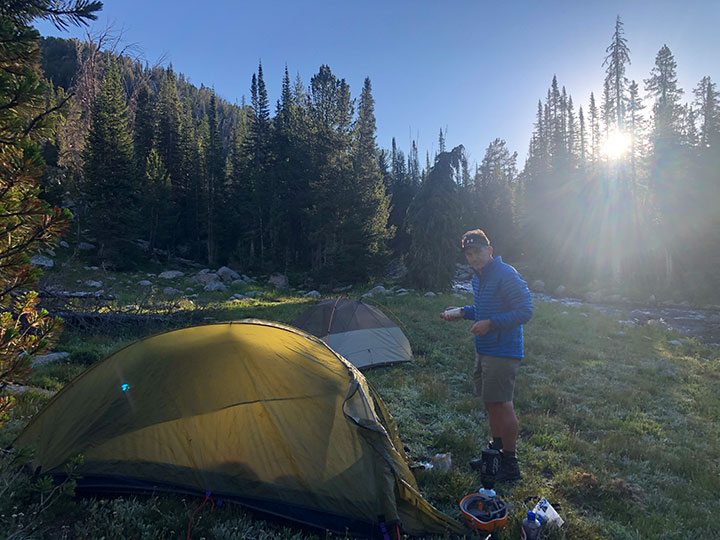
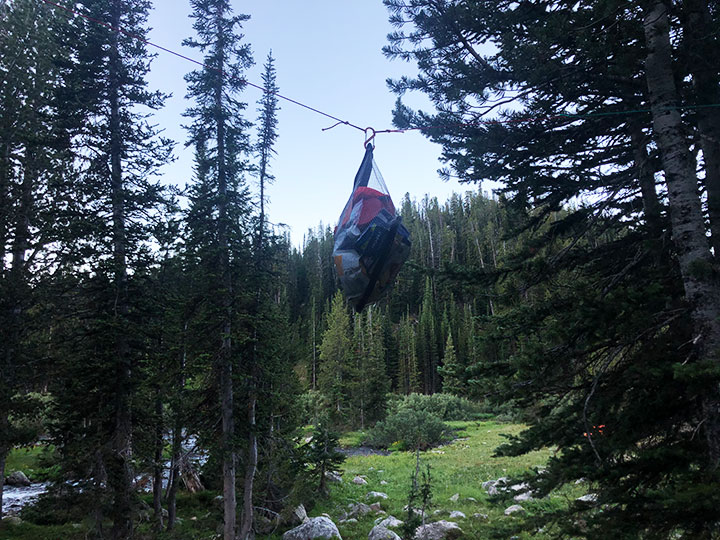
Speaking of my mind, mine was put to ease a bit when I saw our food untouched the next morning.
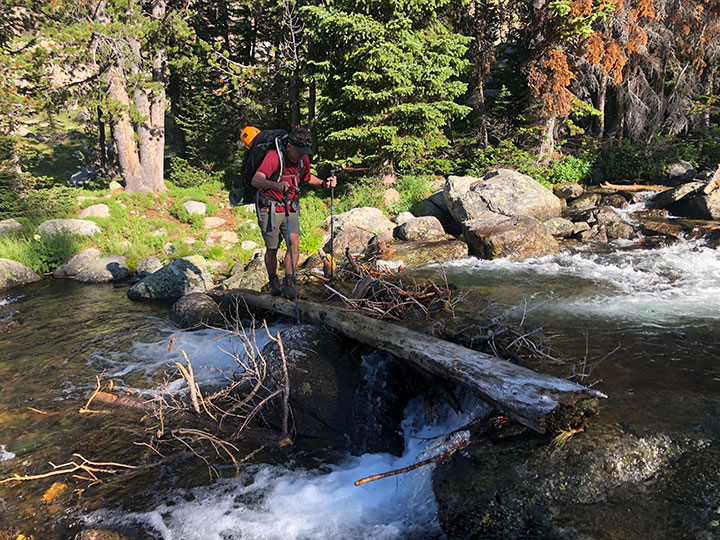
We also didn’t have much problem crossing this third creek that I’ll call Aero Creek (since the water in this drainage comes from both Aero lakes higher up). The combination of Aero and Sky Top creeks were definitely braided here as Steve calls out, but there weren’t six braids to cross for us at this time nor did we need to take our shoes off just yet (that’s to come later). For more perspective, here’s another shot of this crossing from our way back. This log jam is just a few yards up Aero Creek from where the use trail leads right to the water’s edge (from either side).
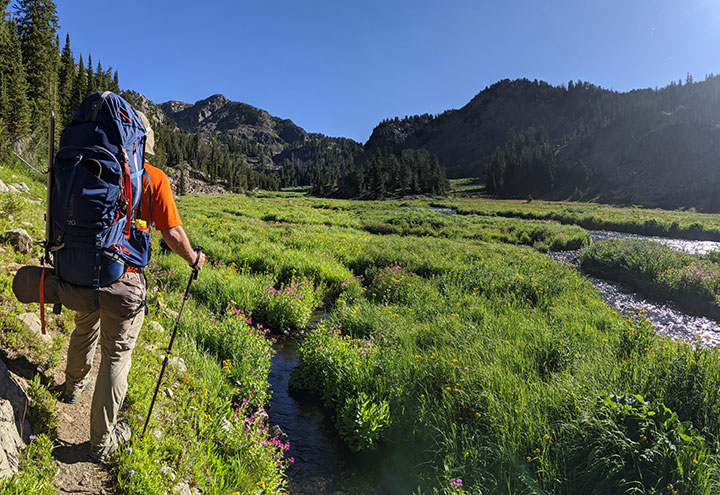
Just shy of a mile from our first camp (6 miles from the trailhead) the trail opens up into a great big meadow again. This one was full of wildflowers of so many colors and varieties, it was spectacular under this bluebird sky. The weather really couldn’t have been better!
2.5 miles from camp (7.5 miles from the trailhead), we were finally above the treeline at 10,000′ and Lone Elk Lake starts coming into view. It was about 10 o’clock in the morning when we reached this point on the trail.
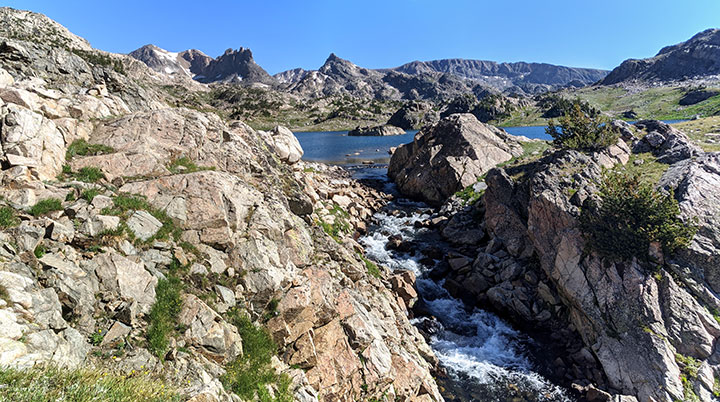
Lone Elk Lake
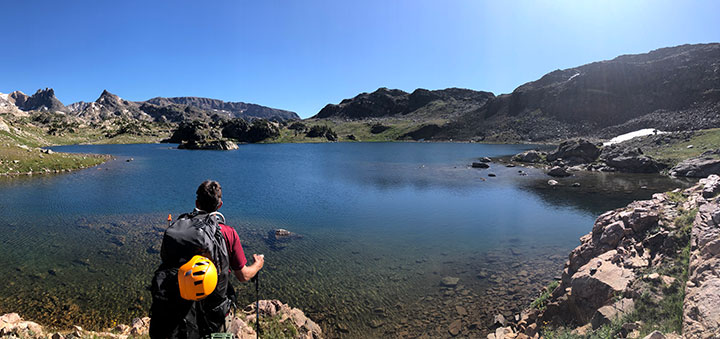
Lone Elk Lake was pretty lonely with not another sole around other than Oliver and I, but we followed along the west side of Lone Elk (left in this picture) to where Rough Lake feeds in from the north.
The next creek crossing comes where Rough Lake feeds in to Lone Elk Lake.
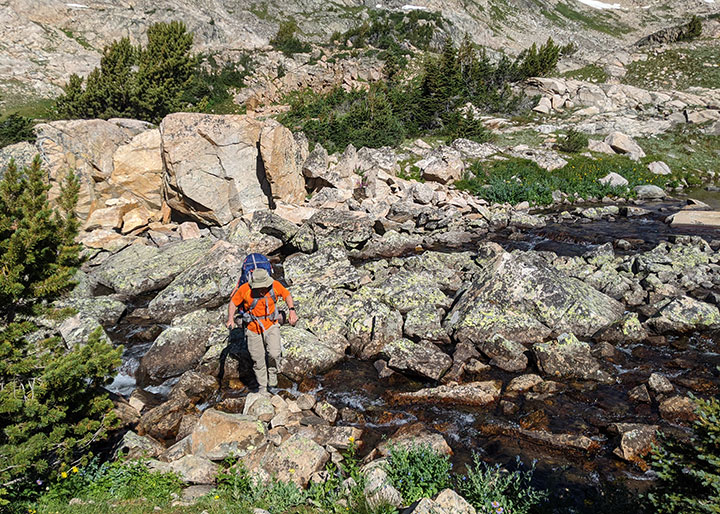
The crossing here was easy for us since we hiked up to the elevation of Rough Lake’s outlet as shown here (rather than trying to cross down lower).
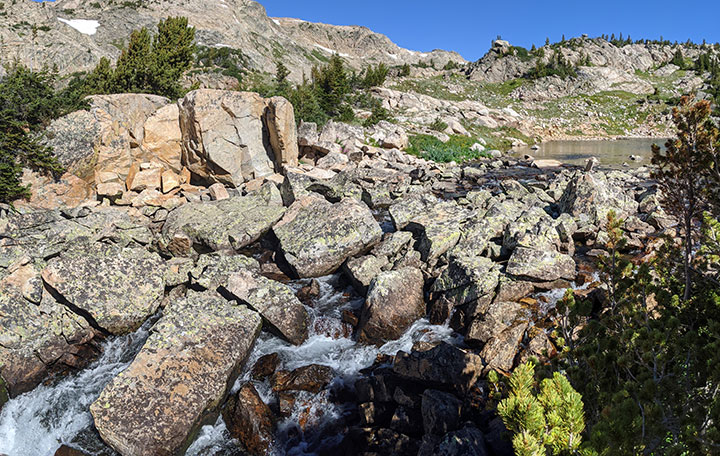
Rough Lake
From this point, you stay on the southeast (right) side of Rough Lake until the next creek crossing at the far end of this picture. It was 10:30a and we were now 3 miles from camp (8 miles from the trailhead).
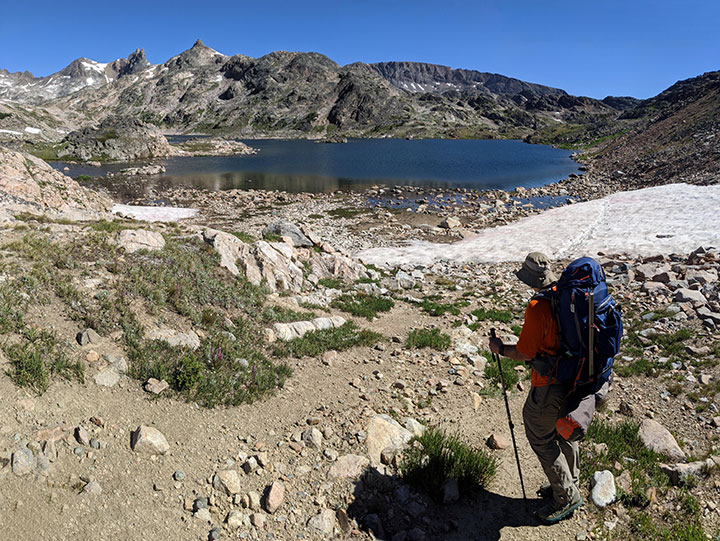
As you approach the inlet of Rough Lake that comes down from Sky Top Lakes, you can start to see the passage that takes you up and over into the Sky Top drainage. Here’s that same picture without the red visual aid.
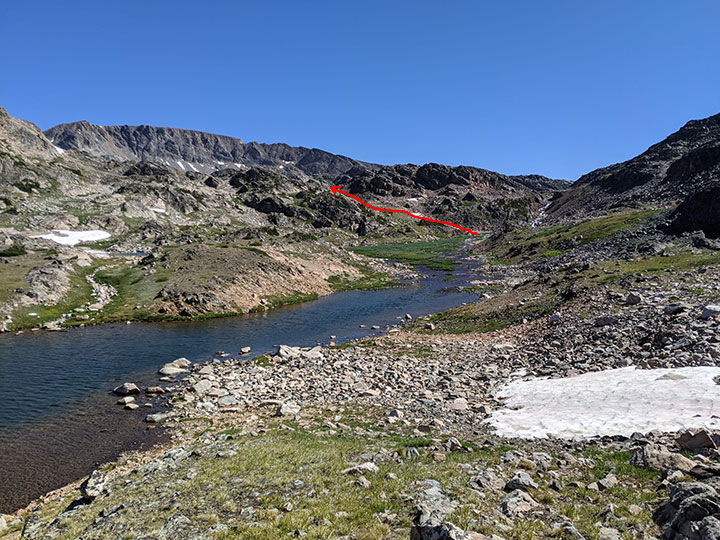
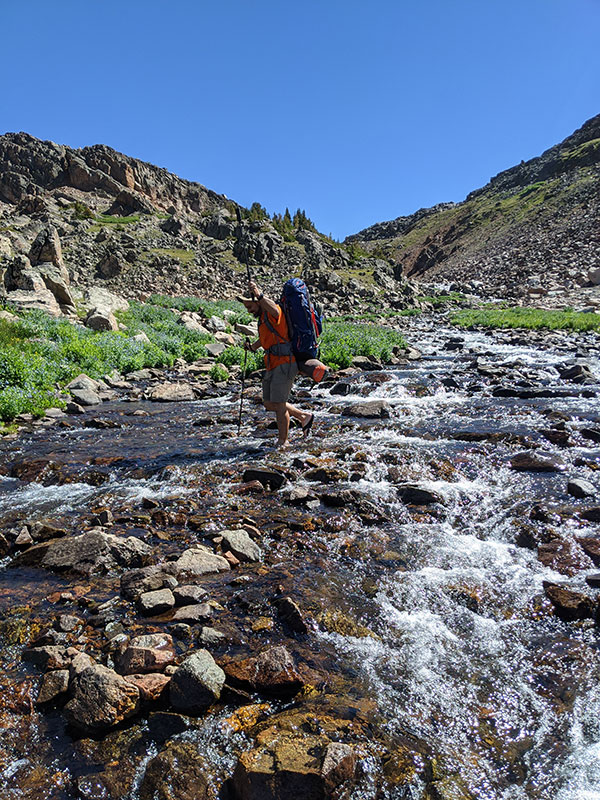
This was the only crossing we had to switch shoes, which wasn’t too bad since the cool water felt pretty good on warm, sweaty feet. I was surprised to not find this water freezing cold.
This was the view looking back at Rough Lake as you climb up toward Sky Top Lakes. We were almost 4 miles from camp by now at 11:45a.
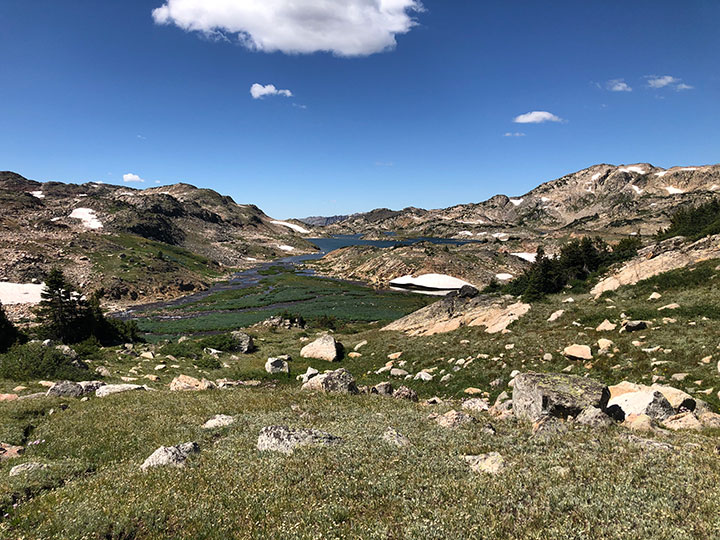
Sky Top Lakes
From this point on, there is a LOT of boulder hopping…
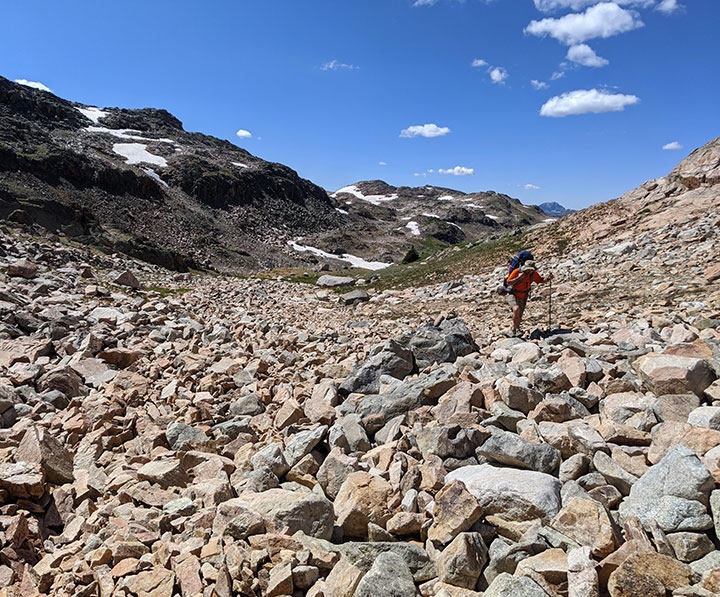
…and a few snow covered slopes to navigate, all of which take place along the west side of the first four Sky Top Lakes.
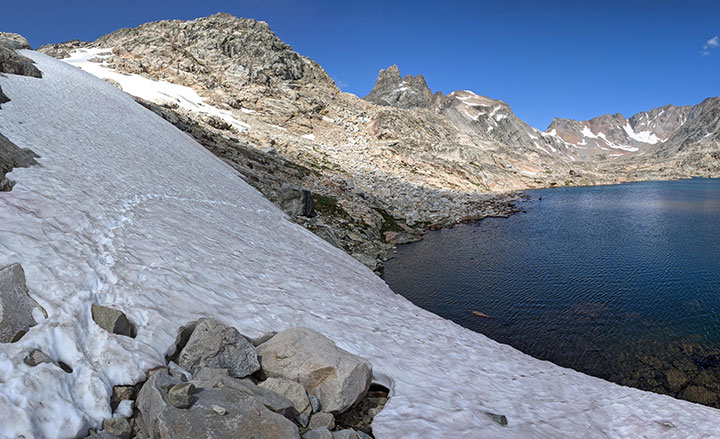
About 5.5 miles from where we started that day (or 10.5 from the trailhead), Granite Peak comes into view and the excitement builds!
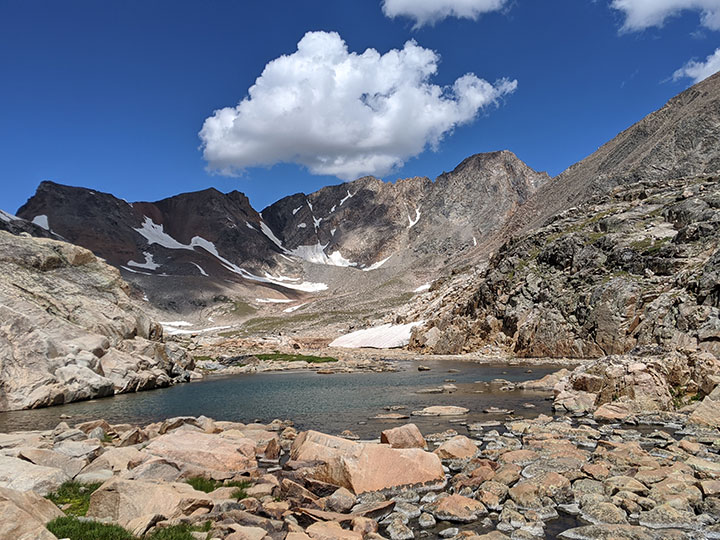
This is also about where you make your last creek crossing to the east side of the upper Sky Top Lakes with Peak 11,379 in the background.
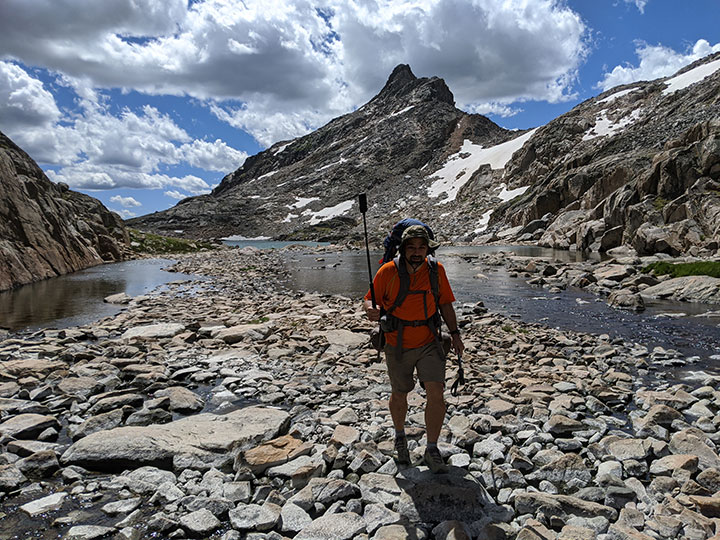
Another half mile up (6 miles from camp, 11 miles from trailhead), we decided to start looking for a place to camp. We had also been watching the weather all day and seriously considering a summit bid TODAY. It was only 1:30p and we still had 7 hours of daylight. Both of us were feeling really good and not all that interested in aimlessly wandering around… that’s not what we were there for. We also knew we were capable of doing 4 more miles, despite having to gain 2200′ more feet of elevation in half that distance (not really too much different than any of our other typical hikes).
Oliver also said the forecast he saw two days ago called for possible rain tomorrow (the day we originally planned to summit). So the decision was to take advantage of a great afternoon right now or to take our chances with a potential not-so-great morning tomorrow.
We chose to GO FOR IT! …knowing that if bad weather rolled in at any point on our ascent, we would just bail. It was 2pm, so we quickly dropped our packs and continued on to the top!
DAY 2 – The Summit Bid
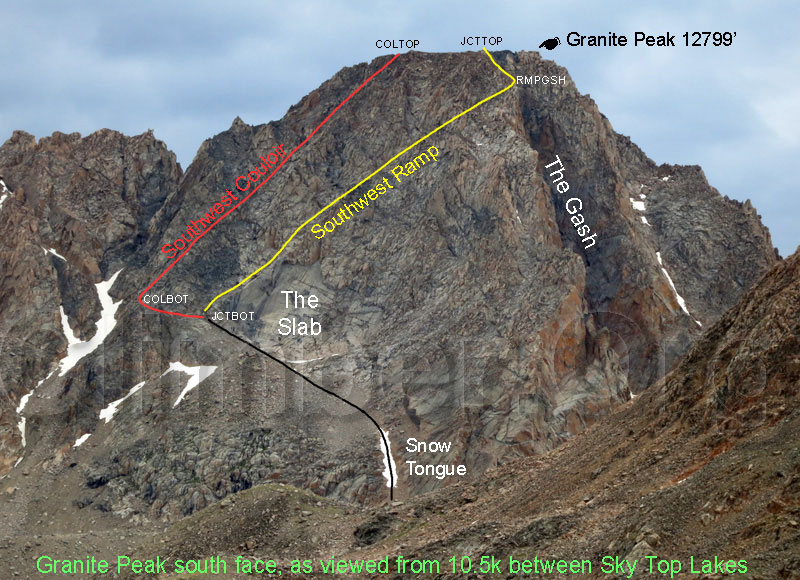
This was the route detail we were following from Steve’s reconnaisance back in 2012 (thanks for the great write-up Steve!).
Another mile from where we dumped our packs, we made one final stop at the last lake to top off our water. That’s where the snow field began. People we saw earlier in the day suggested crampons here for easier travel, but it was soft and not at all icy by mid-afternoon.
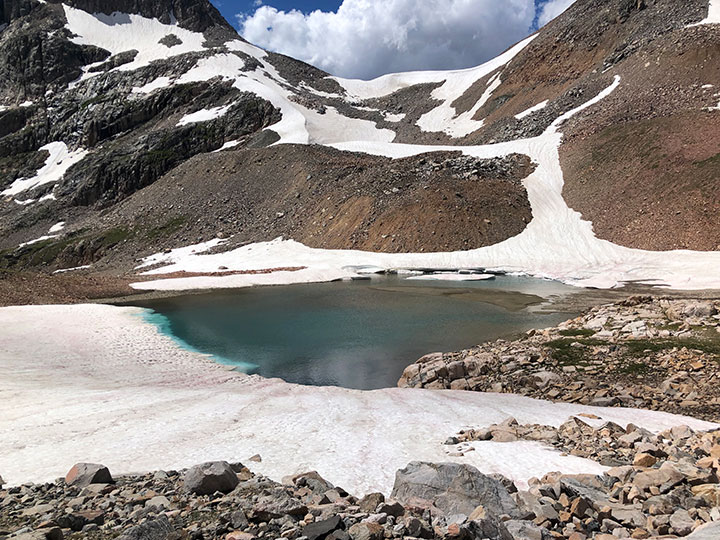
Just one more mile up to the peak and 1900′ of elevation to go! (7 miles from our first camp, 12 miles from the trailhead)
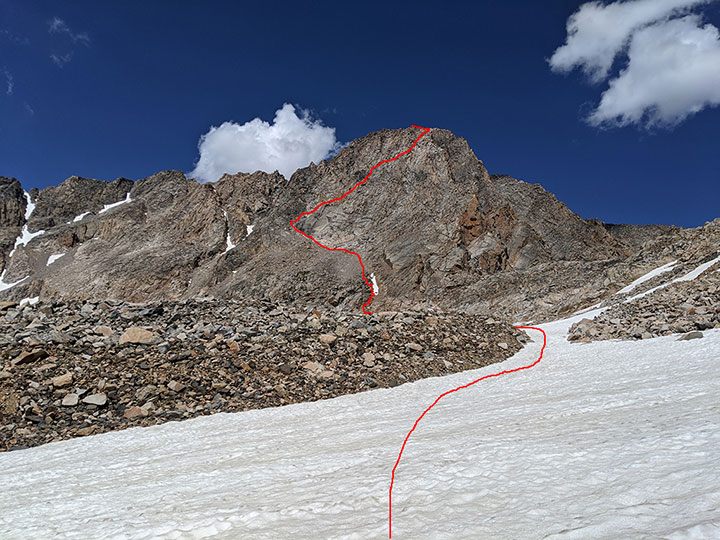
100 yards or so from here, we donned our helmets. It was 3pm and I estimated 2 more hours before we’d see the top.
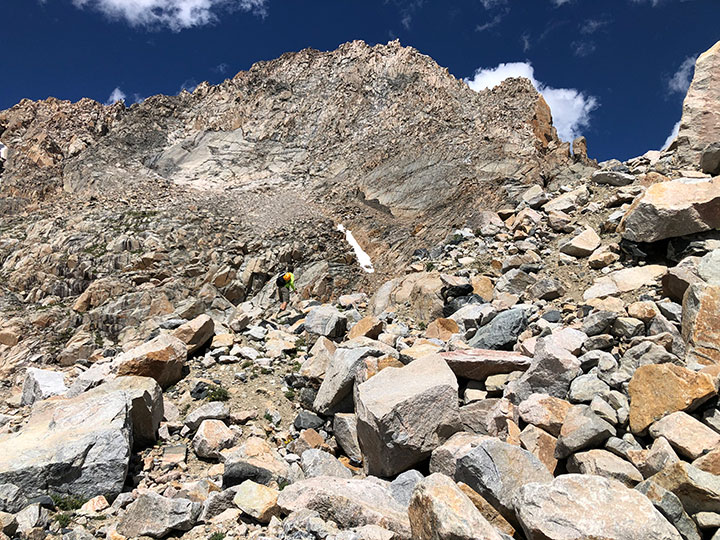
Snow Tongue and The Slab
The snow tongue was pretty easy to navigate around. About half-way up, we saw cairns to the left that took us above and beyond this obstacle.
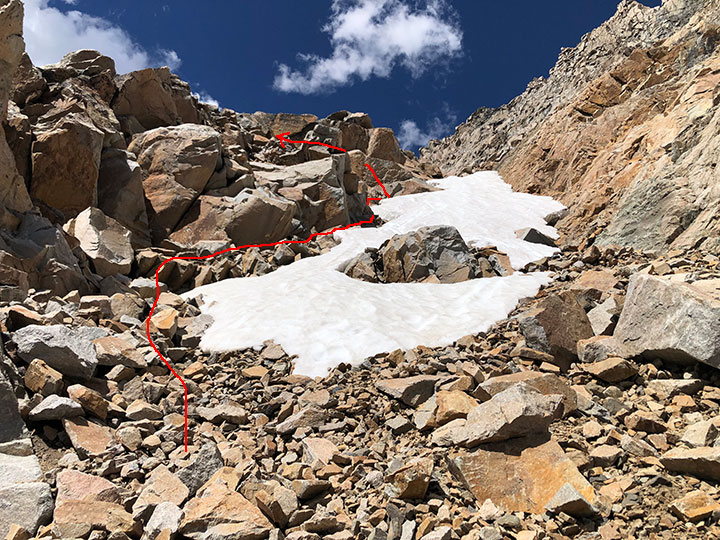
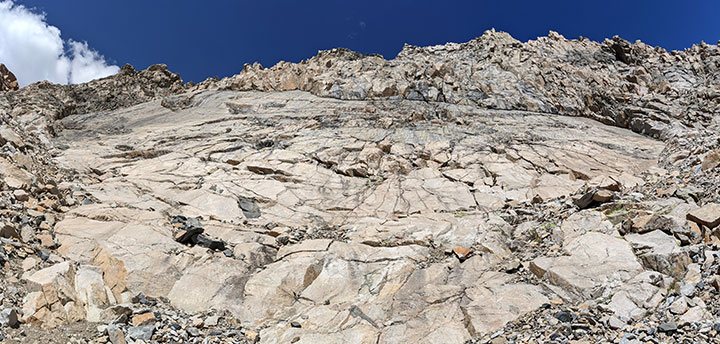
The Slab comes next. You keep going along the bottom of this feature until you can look right up into the ramp.
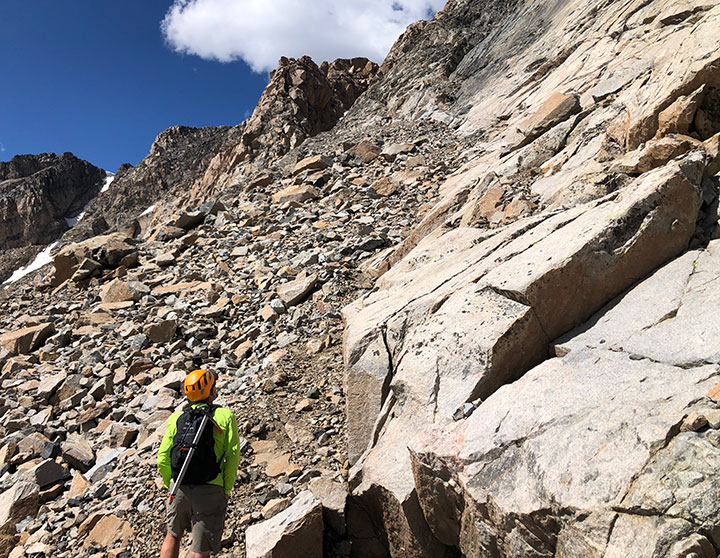
Seeing The Slab from a distance doesn’t look like much. Standing right below this rock face is a completely different story!
Southwest Ramp
At the far end of The Slab, look to your right up into a wide gully that is the Southwest Ramp. Here’s where the fun begins!
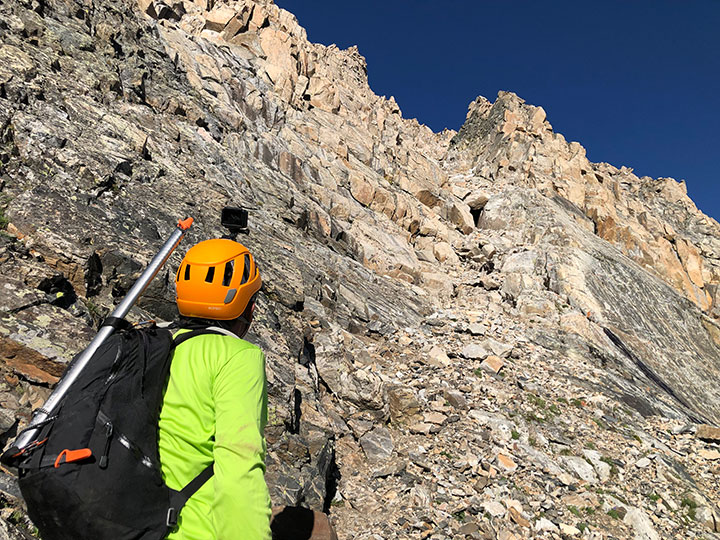
There was a rope on three sections of this route. The first was at the beginning of the ramp as you climb up along the top west edge of The Slab. This one is probably here more for convenience than it is for real need.
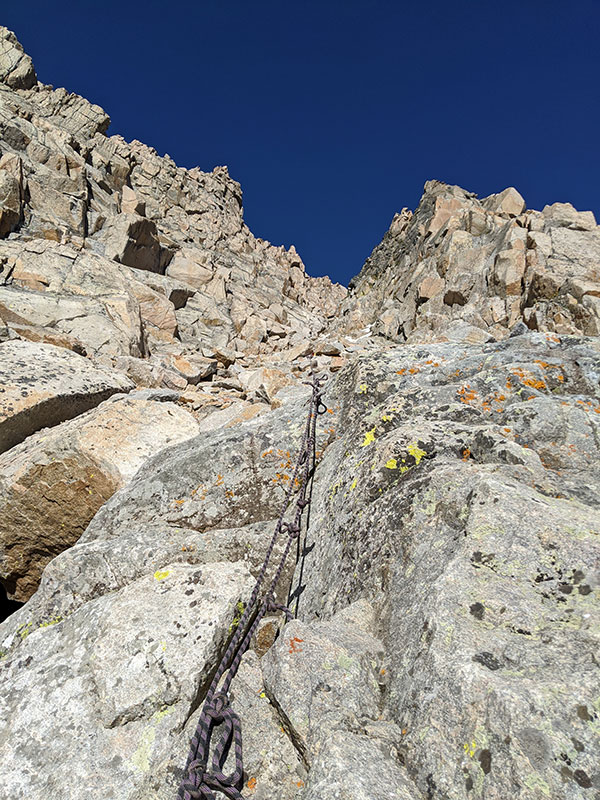
Sections of the second rope were frozen in the ice here at the crux of this route. The options were to use that hand line as you shimmy along to the left or throw on the crampons for this very, very short patch of ice. It didn’t seem worth the time to cramp-up, so we chose the rope because it was just faster. I guess if we really wanted to claim this ramp truly “ropeless”, we could have done it the other way but that wasn’t important to either of us.
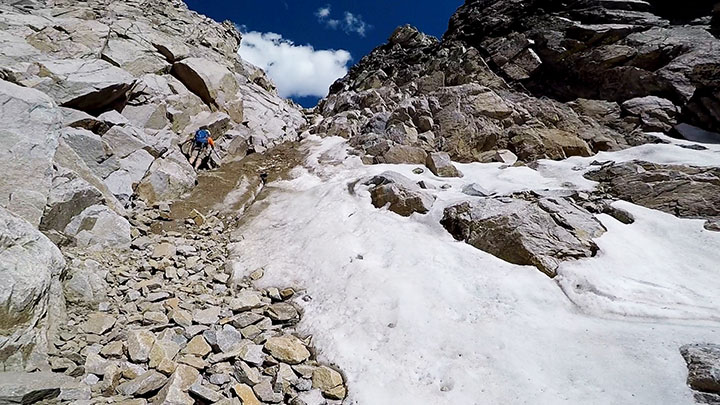
The Gash
The last section of rope was right below the Gash, but we didn’t find it necessary.
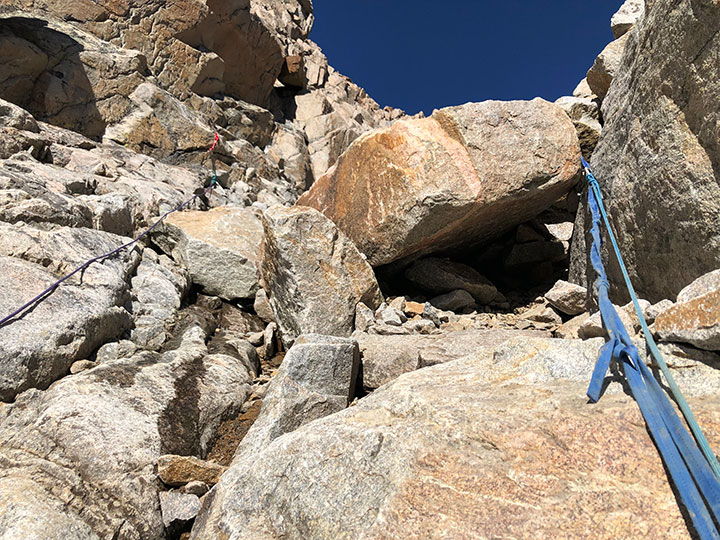
Once you reach the Gash and look down the 2000′ foot cliff, there is no choice but to make a hard left to the top.
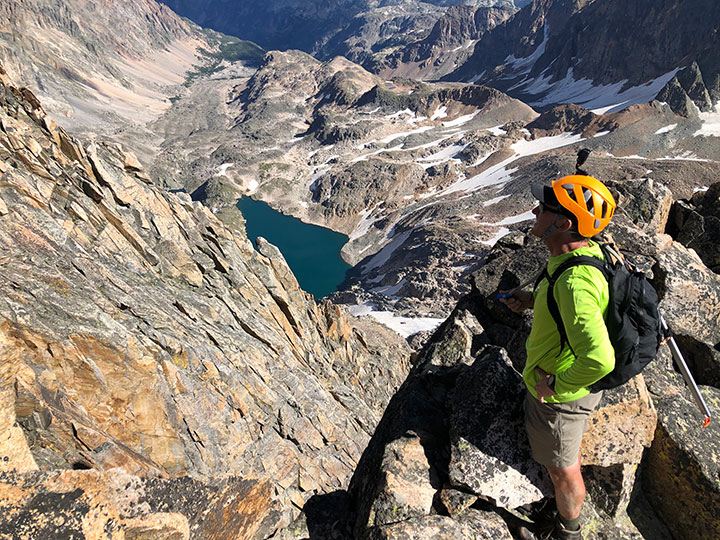
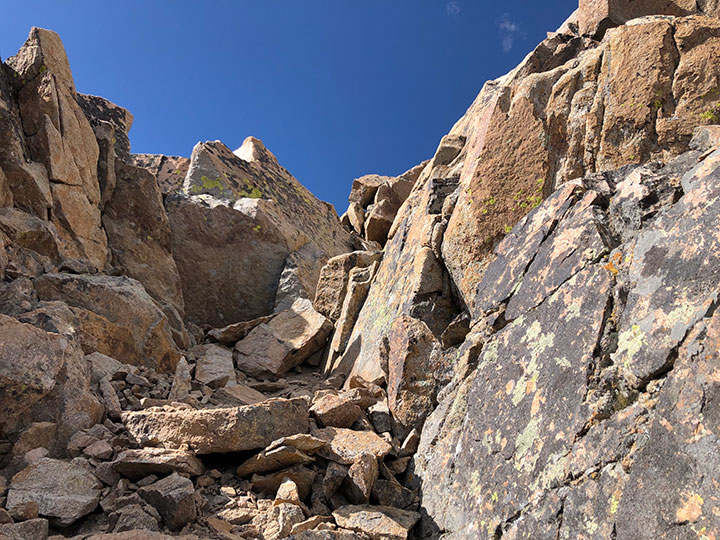
From there, you just follow what looks comfortable all the way to the summit ridge.
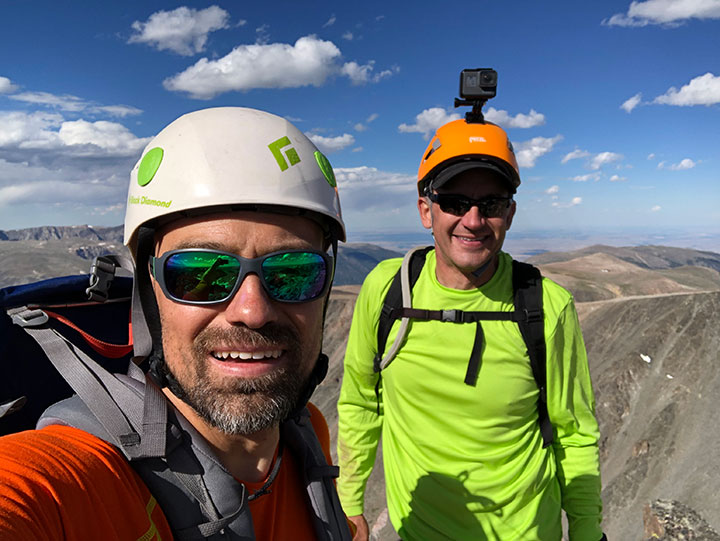
Summit Selfie
8 miles from the camp we left that morning, and 3729′ of elevation today, we were on top of Montana’s tallest Peak at 5pm.
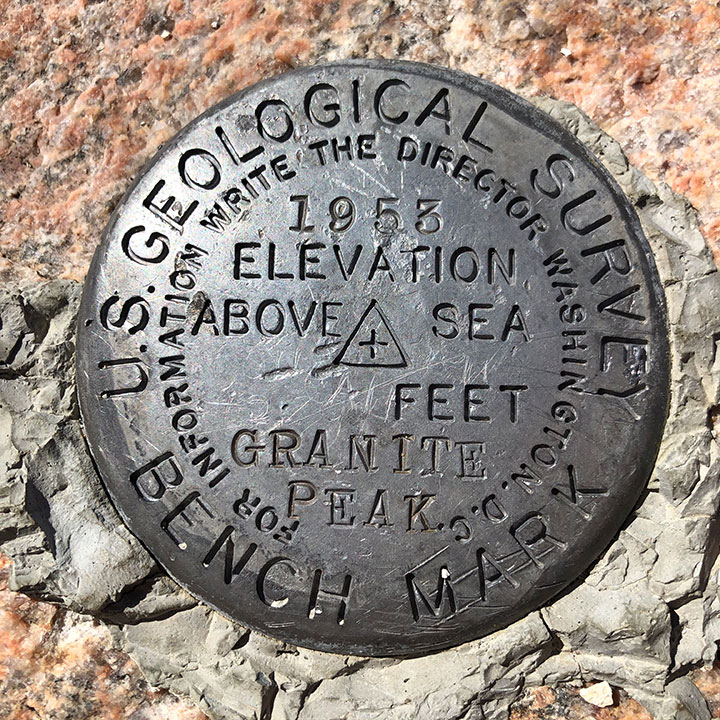
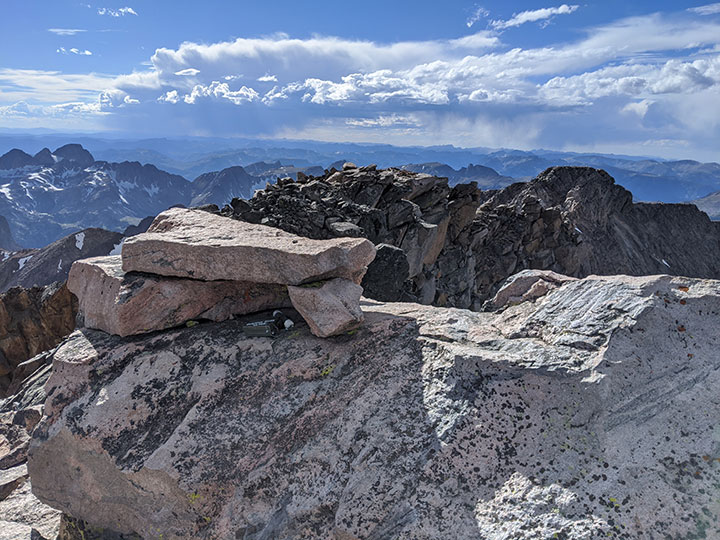
There’s the summit marker!
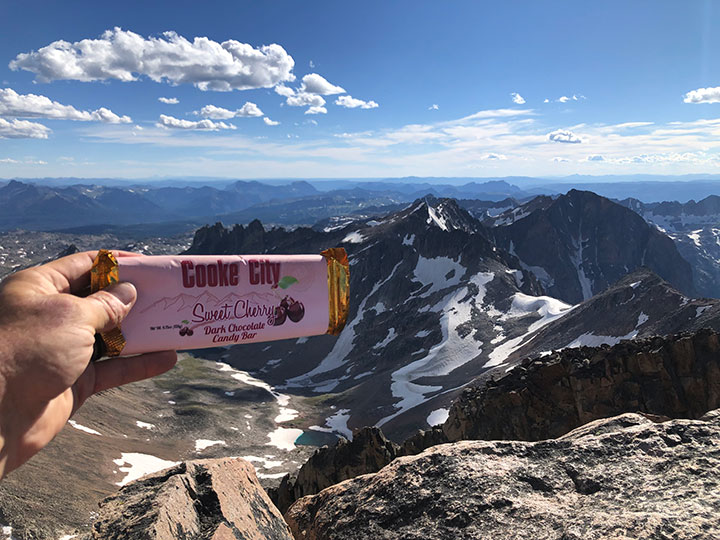
Nothing like a Summit Celebration with some local dark cherry chocolate. Mmmm!
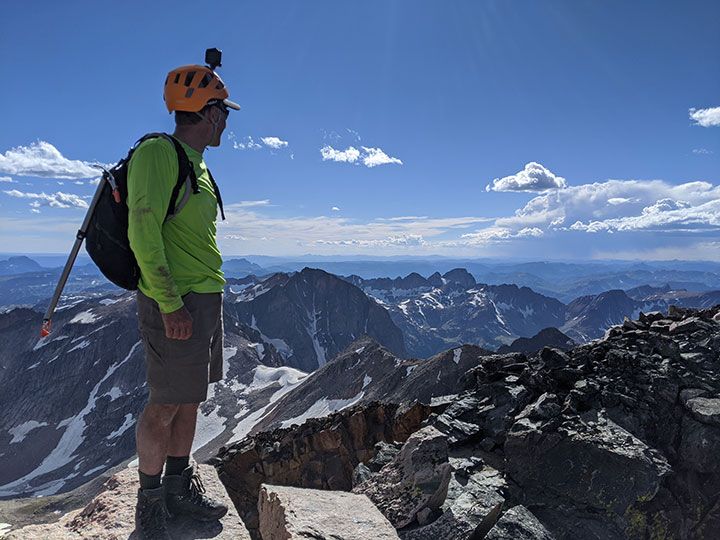
Miles and miles of Montana mountains while the weather remained perfect all afternoon!
Granite’s Summit Block… seems like someone should stack another rock up there to make it an even 12,800!
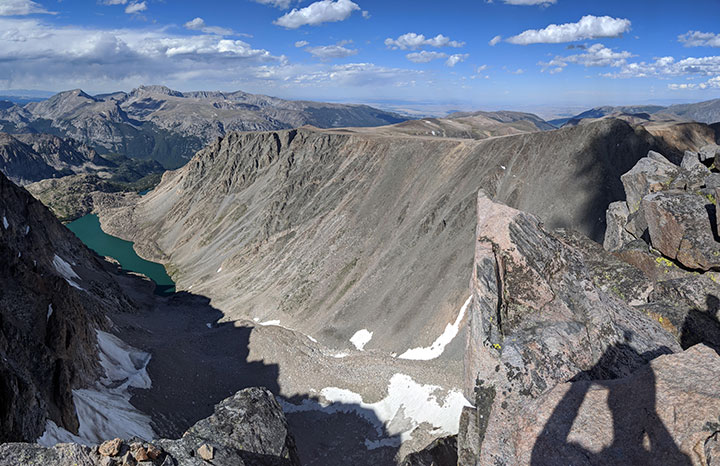
That’s the route from the north across Froze to Death Plateau.
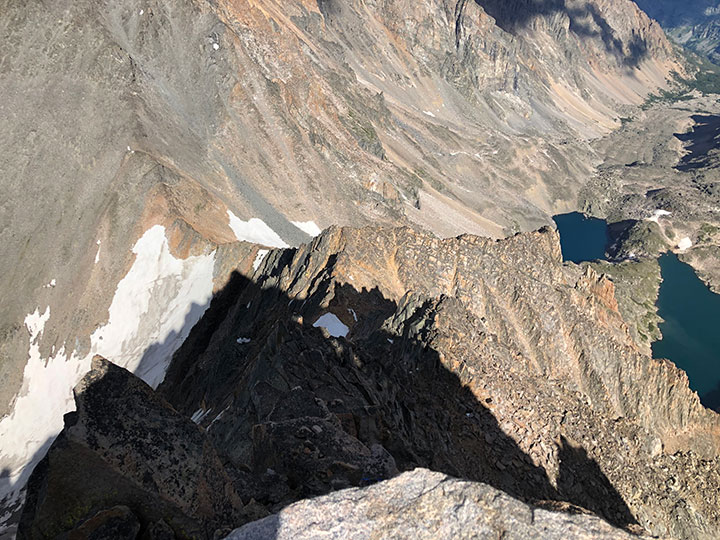
Another view of the north route just below the summit block. This is supposed to be a class 4-5 section that requires climbing gear, but I wonder about that after watching the Mediocre Amateur do this solo.
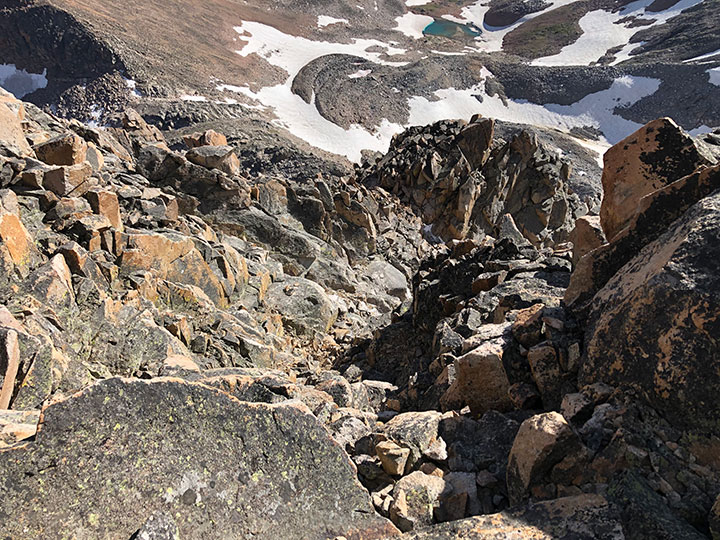
After a half hour of taking in the views, snapping pics and signing the summit register, it was time to head down. I really thought this was going to be the worst part of the day. Surprisingly, going down was much easier than coming up.
We actually made great time and found ourselves below the snow tongue by 7p (an hour and a half from the summit). It was a great day but we were ready to kick off our shoes and be done. Hungry and chilly from being in the shadow of Mt Villard now, we made it back to our packs at 8pm and set up camp 2. 10 miles and 3782′ of elevation were the final stats for the day.
DAY 3 – The Hike Out
We woke up to another beautiful morning… breezy but not too bad once the sun reached our camp.
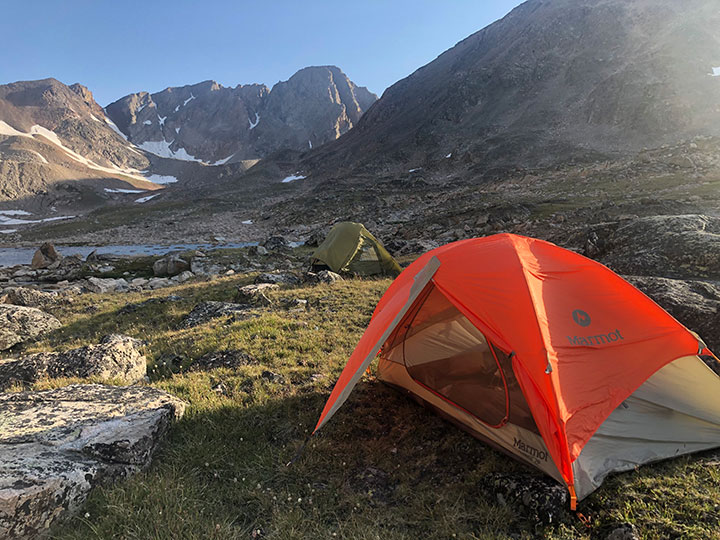
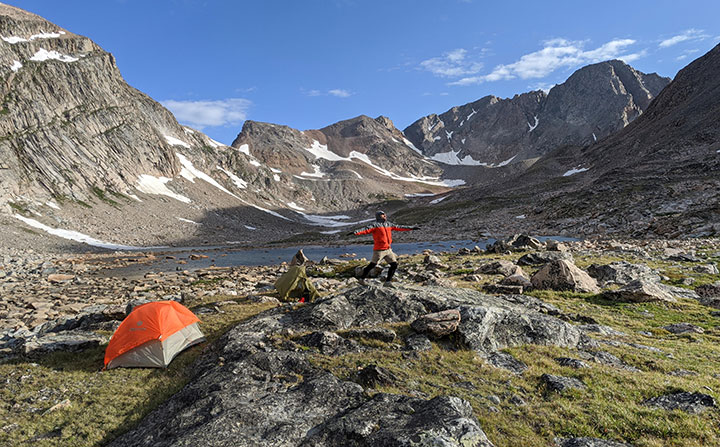
Oliver did a few sun salutations to keep it shining upon us while gloomy clouds lingered to the west.
Sure enough, as we left camp at 9:30a, overcast skies took over with a few drops and a brisk cool breeze behind it. We considered jumping over the ridge and going out through the Aero Lakes Basin but thought we’d save that for another time.
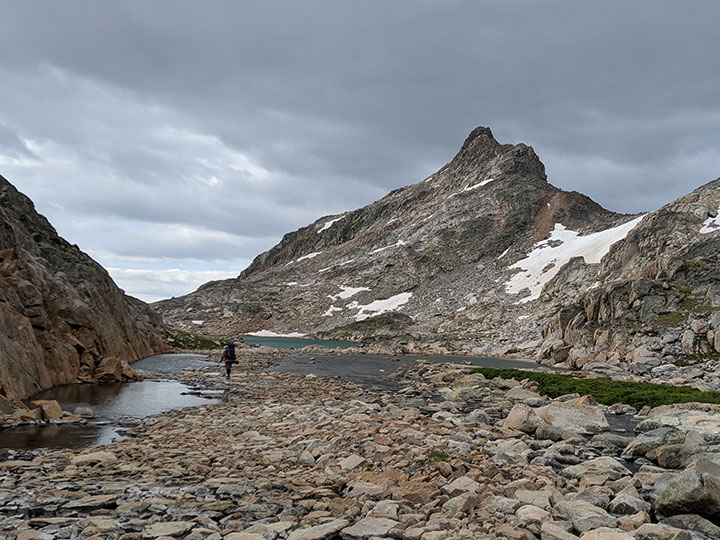
The weather didn’t turn completely sour as we hiked out, but we knew we made the right decision the day before.
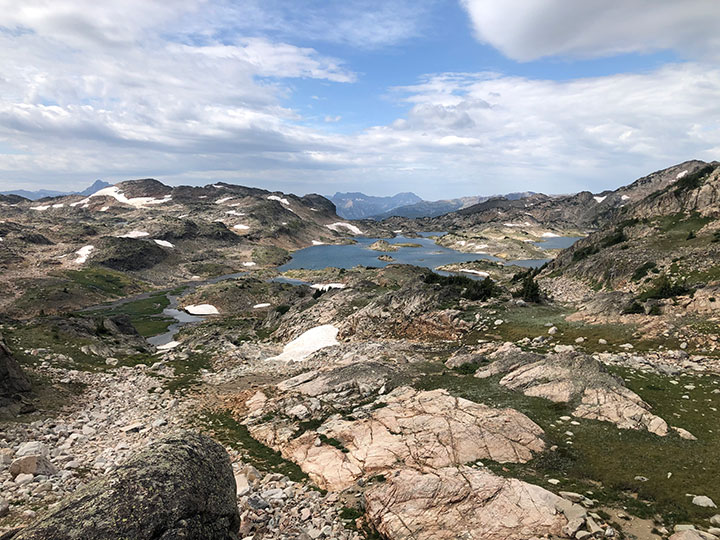
A more relaxed pace back was nice so we could stop and smell the roses along the way. The fields of flowers were amazing up there!
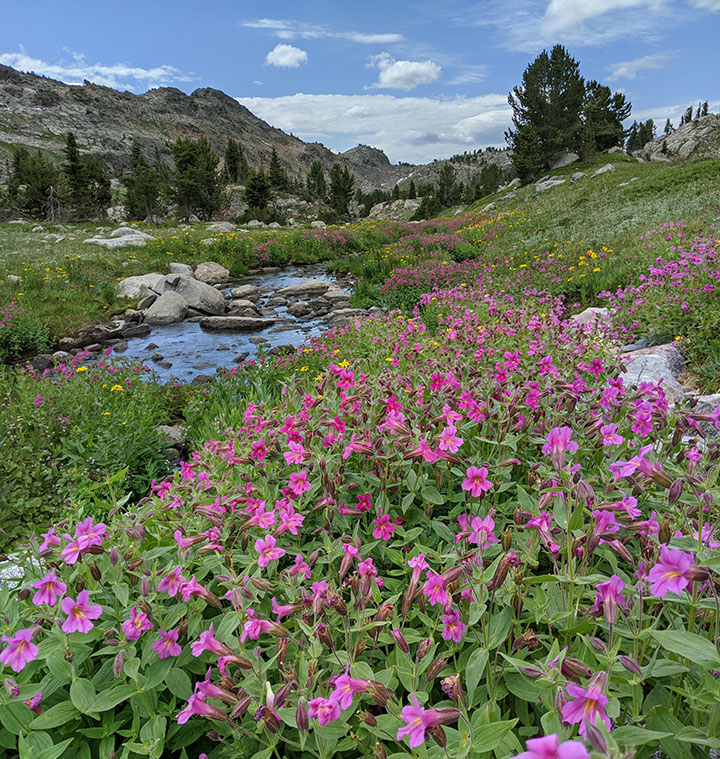
In the end, it took us six and a half hours to hike out following the same way we came in. Making it back to the car by 4pm, the mileage for our exit was 10.8 miles with 767′ of elevation.
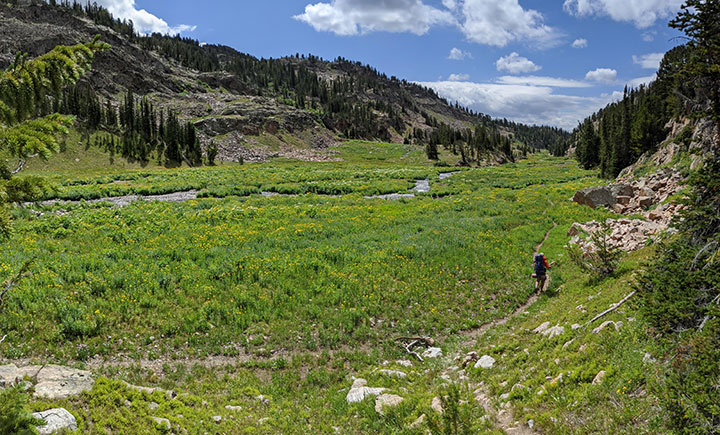
As I think about the possibility of doing this peak in a day, we’d be looking at 26 miles round-trip with 5,600′ of elevation. That’s really not much different from doing the Grand Canyon rim-to-rim (which I’ve done twice now). Without having to lug a big pack, I’d say we could get this done in under 12 hours. Here are some elevation profiles from this trip to see what a 1-day attempt would look like in terms of overall ups and downs.

Did you notice that the summit marker is missing the elevation?!
I wish I knew why some have it and others don’t…
Hey, this is a really great description. I see you’re from Utah. I’d love to pick your brain real quick if you’re up for it in the next couple weeks.
Also, do you have a GPX or KLM file you’d be willing to share?
Hey Jason,
Glad you found this trip report helpful… I just sent you an email for further info!